Webinar offer a wealth of valuable information that can also become different pieces of informative content to attract new audiences. Utilizing webinar recordings this way can help you to get more out of your effort in event marketing, and create evergreen content that continuously brings value to users. Here I’ll show you how you can edit webinar videos effortlessly.
Why should you edit webinar videos?
First things first, why do you need to edit webinars? If you are hosting webinars regularly, you should edit webinars to create new content for your website, social media, or other platforms. Editing your webinar recordings can help you to:
- Improve your content quality: removing filler words like “ums” and redundancies or mistakes can make your webinar go smoothly. Adding visuals, subtitles or background music can help improve the overall quality of the content.
- Repurpose to create new content: instead of having hour-long videos, consider making clips.
- Increase engagement: to keep the audience engaged, consider adding interactive elements like polls or quizzes. And with the ability to turn webinars into blog posts, social media posts, or even ebooks, you can get creative and turn webinar into other formats
If you’re looking for an easy way to transform your webinar videos into engaging content, Vizard is the perfect video editor for you. Vizard turns lengthy recordings into short, viral social clips that are perfect for platforms such as YouTube, LinkedIn, and TikTok. In just four simple steps, you can create exciting new content that will captivate your audience.
I’ll share you how to edit webinar videos in four steps:
- Create your video project
- Trim your video
- Apply design, layouts and subtitle styles
- Export, publish or share your video
Let’s dive right in.
Create your video project
On Vizard workspace, click on Create Project to upload or import a video. There are a few ways to do so:
- Record yourself with Vizard (see this guide to get started)
- Import from Zoom
- Paste a YouTube link
- Upload your video file (Vizard supports M4V, MP4, AVI, MOV, and more)
Once you upload your video, your will be transcribed into videos into text. Vizard detects and cuts out speakers and shared screen recording from your video so you can make edits to each speaker or screen with ease.
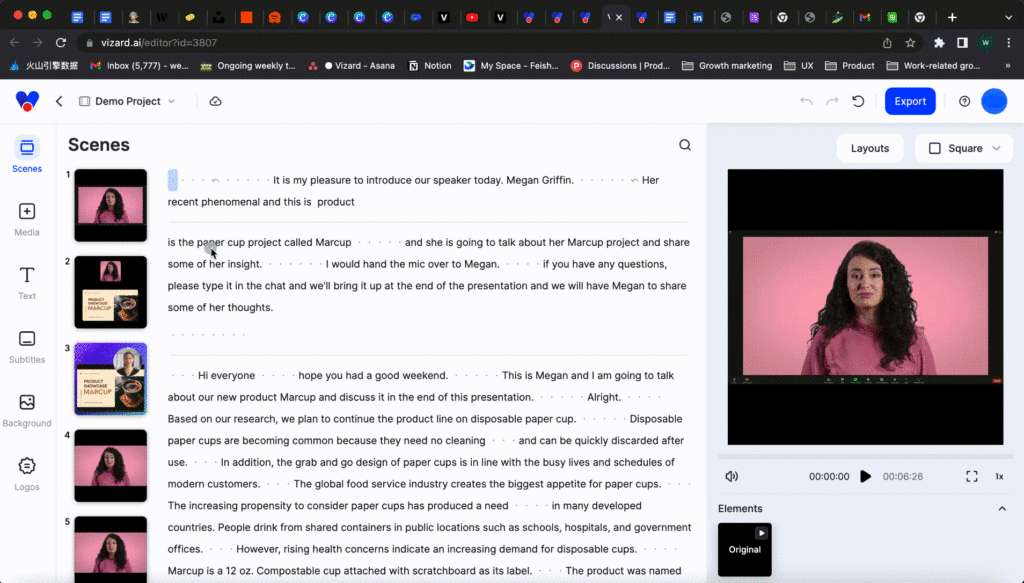
Trim your webinar video
Once you finish uploading, you will be taken to our editor, where you can make all sorts of edits you want to your webinar recordings.
You can trim your video to remove any unwanted parts, such as the intro or any awkward transitions. With Vizard’s user-friendly interface, you can edit your video by editing the text, just like you would when editing a Google Doc. The text also helps you locate the highlighting clip quickly.
You can trim your videos in two ways. Select the portion that you want to edit out, and click “Delete” on the toolbar, or simply hit “Backspace” on your keyboard.
Design your webinar video
To make your videos look nice and on brand, there are a few things that you can do in Vizard:
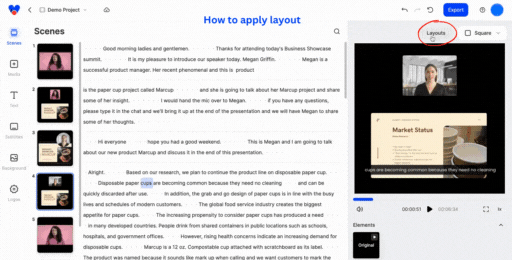
Change layout
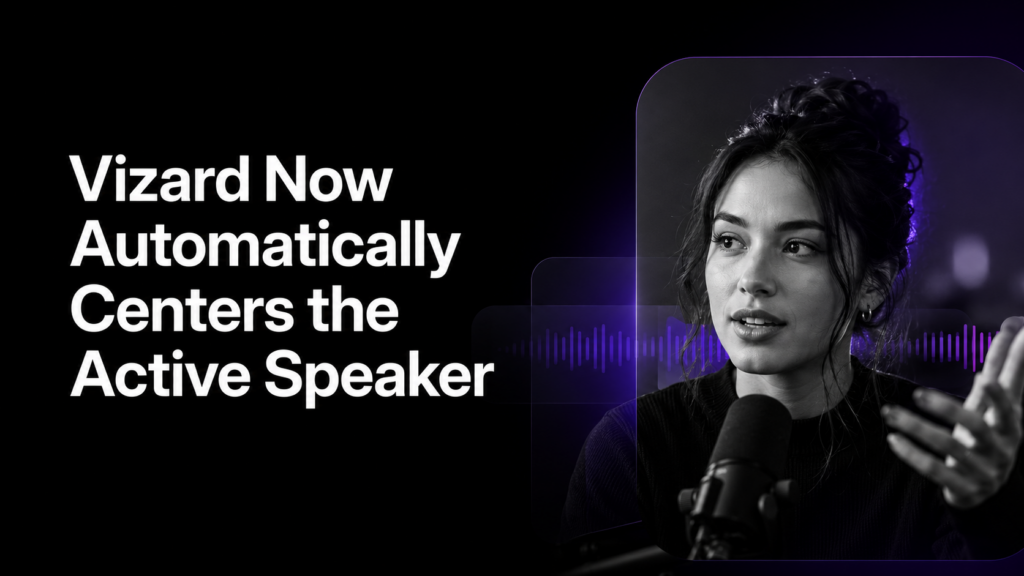
A cluttered video layout can also be a problem when watching webinar recordings. This can make it difficult to focus on the speaker or the content being presented. By editing the video layout, you can create a more streamlined and visually appealing experience for the viewer. Click the Layout button and apply the layout, or you can also change the layout manually by dragging and dropping your speakers or shared screens. To learn more about how to apply the layout, click here for an in-depth walkthrough.
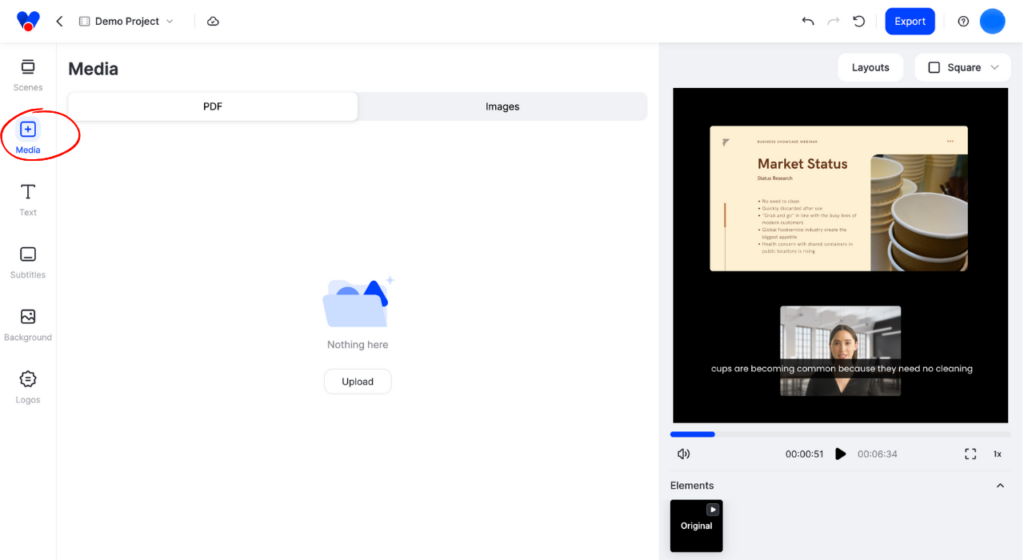
Add media
Whether you want to add background or a logo to make your webinar videos stay on brand, there is a way to do so with Vizard.
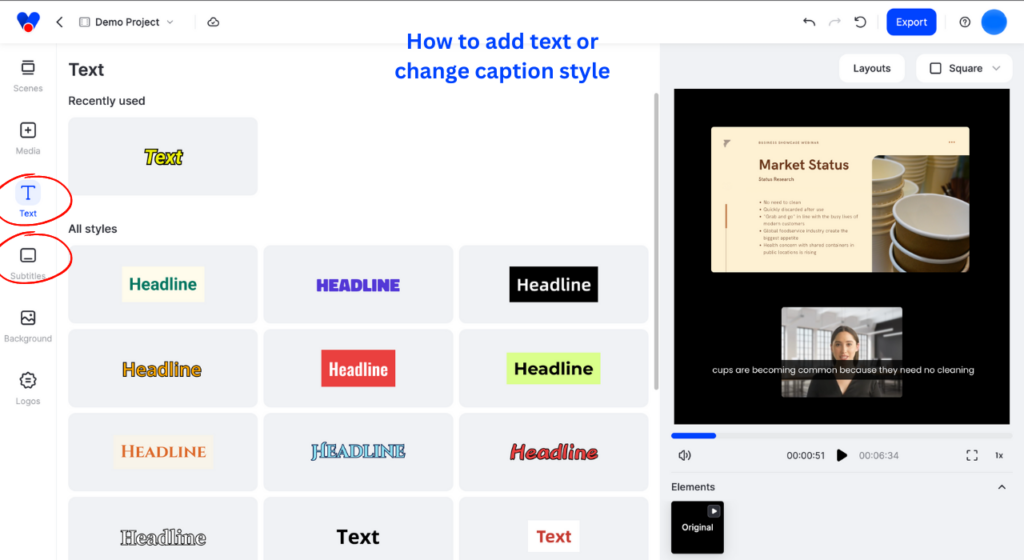
Add subtitle or captions
Adding subtitles can make your webinars more accessible. And you can do that easily with Vizard. Your transcription will automatically be added as subtitles. In the subtitle tab, you can design your subtitles to make sure that they look on brand. We’ve also provided pre-made caption style for you to get a head start. To adjust the subtitle, double click on the word that you wish to change, you’ll see a text box appear for you to edit.
Upload or share your edited webinar video
After finishing your editing process in Vizard, simply click on the Export button located in the upper-right corner of the editor. This will redirect you to the export page, where Vizard will begin rendering your video. If you have a large video file, it may take a few minutes for Vizard to process your export.
Once your video is exported, you have several options for sharing it. You can share your video as a link by copying the link provided, or download the file as a video in MP4 format or as subtitles in SRT or TXT format. Additionally, you can publish your video directly to YouTube (after connecting your YouTube account to Vizard) or embed your video on social media platforms.
Conclusion
Thanks to Vizard, you don’t need to spend hours trying to make simple edits to webinar videos anymore. With all the editing features you need, Vizard makes it effortless to create ready-to-publish webinar videos that are perfect for platforms like YouTube, LinkedIn, and TikTok. Now that you’ve discovered the power of Vizard, why not try it out for yourself and see just how easy webinar editing can be?